
Do This AFTER Every Guitar Solo!


Playing solos without reflection means that all we're doing is focusing on the next new guitar lick because it's the thing that feels like the most fun when practicing solos - so we tend to fixate on the licks and lines instead on the substance.
Sometimes a guitar player can go for years without doing any deep analysis about what that are truly playing.

HOW DOES THIS WORK?
When you train yourself how to become better at "learning to solo," you are feeding into the study of several important playing areas.
These include; knowing more about notes, learning scales, mapping the neck, using your ear, and knowing how to balance each interval that relates to the key that you're in.
If you don't take time "after the solo" to study what you played and how it that can help you to have better note choice and symmetry with what you play, you won't keep getting better as a guitar player and as a musician.
This lesson will help you reach a higher level of skill when it comes to performing guitar solos by introducing a comprehensive, "After Solo Review."

THE POWER OF ANALYSIS:
Being able to analyze what you play help you improve your knowledge of; root notes, key center, tonality, the notes on the neck, as well as, help you determine the intervals through scale degrees.
To get things started, I’m going to demonstrate a melodic idea that you can learn with me right now. It’s an easy melody - you won’t have any problem learning it.
Then, after doing that, we’re going to breakdown how this “After Solo” review can be done to help you get better with all of the things I just mentioned. So, let’s learn this example idea - right now.
The Lesson's Guitar Lick Example:

Next, I want to run through all of the ways that work the best to analyze a melody. Now, I do realize that obviously your solos will probably be a lot longer than this one statement that I just performed.
The principle of what we’re doing here will be no different - no matter how long or short your guitar solo might be.
Let’s get started working through how this “After Solo Review,” can work with our lesson's guitar lick melodic example.

VISUALIZE YOUR SOLO'S GEOMETRY:
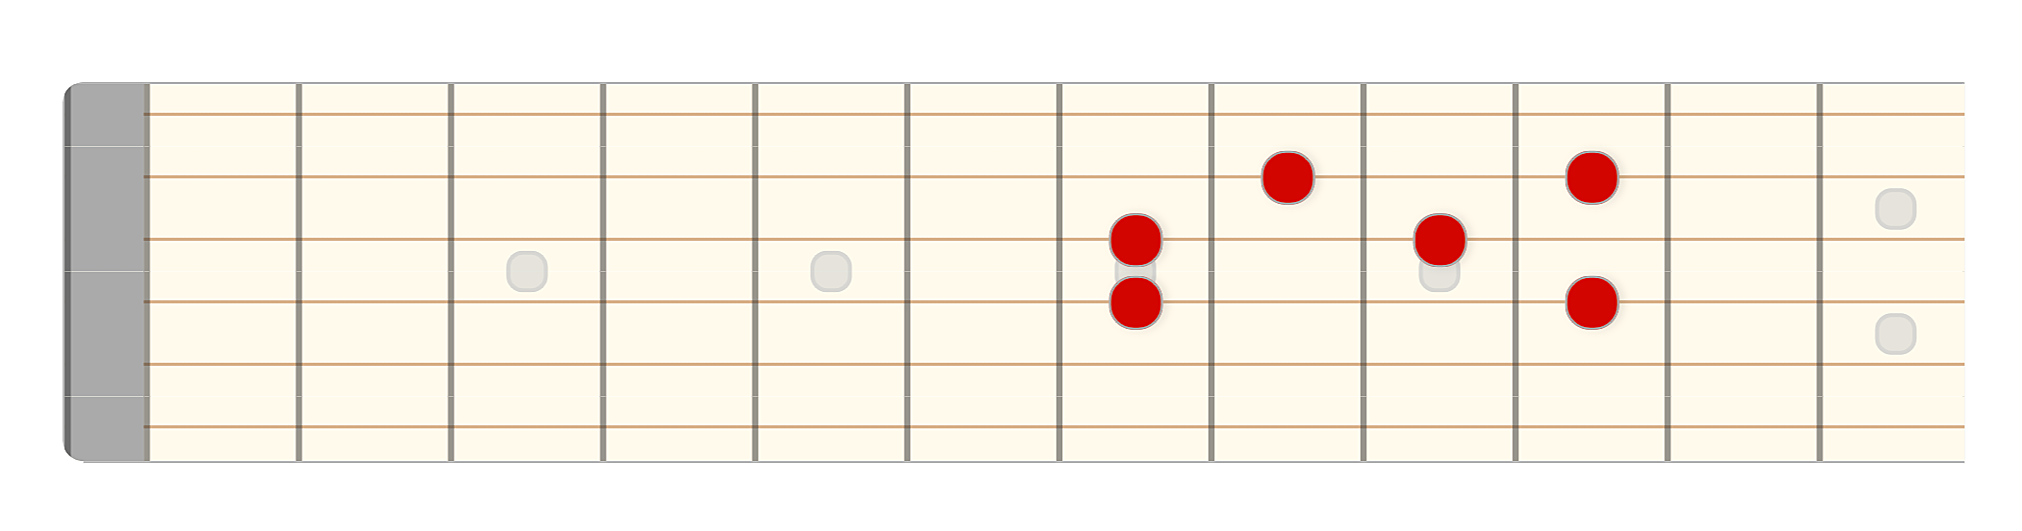
1). Begin by visualizing the geometrical outline of how the notes of the guitar solo you just played - sit on the neck. The geometry of our idea looks like this…
FIND THE "FOCAL" TONE (ROOT):
2. Next, we need to use our ear to decide where the geometrical note outline’s focus tone,( or Root note), is located.
Often times it’s the first or the final note in the solo, but not always, so it’s important to play the notes ascending and descending along with the backing chords to decide where the collection of tones wants to find as its rest-point.
In our example the resting point is leaning to be at the 4th string’s, 7th fret.

DETERMINE THE NOTES:
3). Next, is one of the most important and most often over-looked steps for a majority of guitar players. And, it’s the step of making a quick study of what the actual notes are for the geometrical outline.

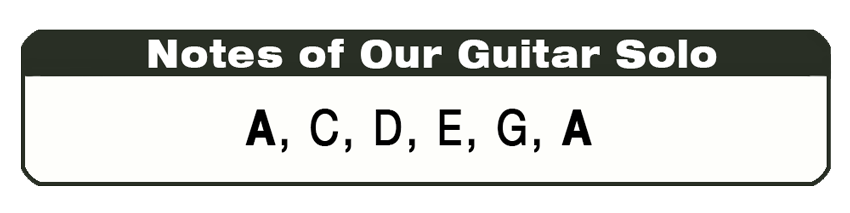
For our example the notes work out to be, (starting on the 4th string’s 7th fret).…
“A, C, D, E, G, A”

ACKNOWLEDGE THE ROOT TO OCTAVE:
4). At this point we’ve now learned that the note collection starts and ends on our Root Note that we located back in the previous step.
The note of, “A.” The next thing to do is confirm that the pattern we’ve organized has both a Root note as well as, an octave.

Learning this step has now officially anchored the entire note range for us, and also it’s officially formed a scale on the guitar neck as well.
I wanted to take a minute to let you know, that if you want to learn even more about scales and theory I have a great offer for you.
With any donation over $5, or any merchandise purchase from my Tee-Spring store, I’ll send you free copies of THREE of my most popular digital handouts.
One is called, “Harmonized Arpeggio Drills” (it’ll train you on developing your diatonic arpeggios).
Another one is my “Barre Chord” Handout which includes a page showing all the key signatures along with a chord progression that applies barre chords.
Plus, you’ll get my Notation Pack! It has 8 pages of important guitar worksheets for notating anything related to; music charts, guitar chord diagrams, and TAB.
As a BONUS, (from my "Over 40 and Still Can't Play a Scale" video), I'll also throw in a breakdown of all of the chords that are diatonic to the "F Major" scale.
As an EXTRA BONUS for my Phrygian Dominant video, I'll also throw in a breakdown featuring all of the chords that are diatonic to the Phrygian Dominant scale.
Just send me an email off of the contact page of CreativeGuitarStudio.com to let me know about either your donation or your Merchandise purchase and I’ll email you those digital handouts within 24 hrs.
____________________________________________________
DETERMINE SCALE DEGREES:
Now that we’ve got our scale mapped out from root to octave, the next idea is also really important. Our next step is another one of those things that’s rarely if ever done by guitar students.
What it covers is taking a look at comparing the scale steps we’ve performed in our solo, and comparing them to the Major scale off of the same root.
In our case, that root is the note of “A.” In the “A Major” Scale we have the notes of “A, B, C#, D, E, F# and G#.”

In our guitar solo, (or rather "guitar melodic statement"), we have the notes of “A, C, D, E and G.” This means we’ve lowered two critical tones of the “A Major” scale, (C and G).
The lowered tones are referred to as flatted 3rd and flatted 7th and they establish the tonality called MINOR.
5). Here’s how the "Scale Degrees" outline would look on the fingerboard.

RE-LOCATE THE NOTES OF YOUR SOLO:
The next step of our, “After Solo Review,” is all about stretching your knowledge of the fingerboard by re-locating the notes (that were a part of the original solo), over to another area of the fingerboard.
Let’s do this by moving our group of notes over to the guitars 2nd position with the lower root note now off of the 3rd string.
6). Re-location of the original scale tones

PRACTICE YOUR NEW LOCATION:
When you have the new area of the fret-board organized (with the same notes from your solo), take either the entire solo, or a few segments of your solo over to the new region.
7). Learn to play through that guitar lick we’d started the lesson with, in this new position to demonstrate how the line adapts to the new area of the neck and to the new guitar strings.

AMALGAMATE BOTH NECK REGIONS:
Next, it’s important to connect the first region of the neck where you played your original solo over to the new region of the neck that established a secondary range of notes.
If we do that with our neck patterns we wind up with two fret-board areas giving us more soloing options!
8). Below are both neck regions show as one larger layout on the guitar.

EXPAND NOTES BEYOND THE SOLO:
Finally, the last part of this exercise will help you gain more fingerboard awareness with the notes that make up the entire span of both of the neck regions.
What we’re going to do is fill in any additional notes that weren’t accounted for.
9). Notes that were not accounted for are shown in "Blue" color.

___________________________________________________
GET GOOD NOW - JOIN THE MEMBERS AREA

Guitar Chords | F Chord | Guitar Notes | G Chord | C Chord | D Chord | Guitar String Notes
Categories:

